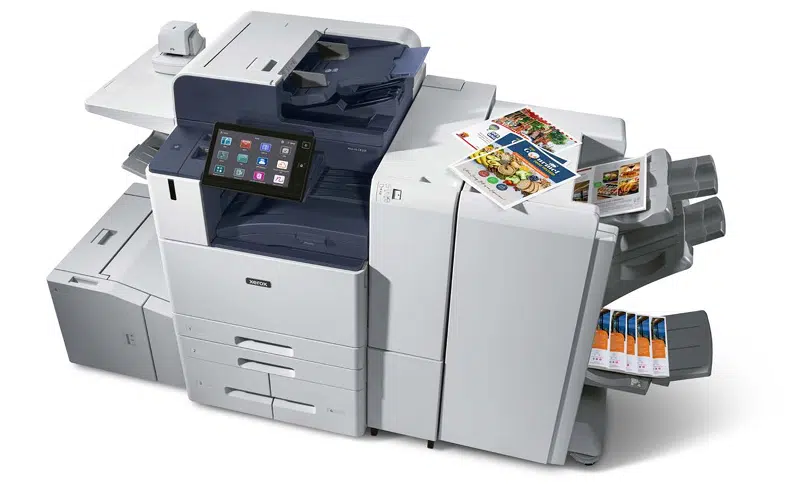
Physically Connecting the Printer
-
Connect the power cord to the printer, and plug it into an electrical outlet.
-
Connect one end of a Category 5 or better Ethernet cable to the Ethernet port on the back of the printer. Connect the other end of the cable to a correctly configured network port.
-
If your printer has fax installed, connect it to a correctly configured telephone line.
-
Power on the printer.
Installation Wizard
The Installation Wizard starts the first time that you power on the printer. The wizard prompts you with a series of questions to help you configure basic printer settings. You can complete the initial configuration using the Installation Wizard or a clone file.
Note: A clone file contains configuration settings from one printer that you can use to configure a similar printer.
- To assign a static IP address or change the default dynamic addressing settings, use the IP Address Settings wizard.
Note:
- It is recommended that you use DHCP to obtain the IP address automatically.
- If DHCP is enabled, your DHCP server can provide the Host Name and Domain Name. For details, refer to IP.
- To ensure that the IP address does not change, use a DHCP reserved address. You can create a DHCP reservation for a permanent IP address on your DHCP server.
- To add phone numbers for support or supplies contacts, use the Contact Numbers wizard.
- To configure basic embedded fax settings, use the Fax Setup wizard.
Note: After the initial setup, to change any printer configuration settings, or to configure other printer settings, log in to the Embedded Web Server. For details, refer to Accessing the Embedded Web Server as a System Administrator.
USING THE INSTALLATION WIZARD
If the Auto-Assembly feature is enabled for your organization in Fleet Orchestrator, in the Installation Wizard, a device can join the Publisher automatically. After a device joins the fleet, the device checks for a clone file automatically. For more information, refer to Fleet Orchestrator.
To use the initial Installation Wizard:
-
To select a language, the date and time settings, and any applicable options, follow the wizard prompts.
Note: If a network connection is not detected, an alert notifies you. Ensure that your network cable, or Wireless Network Adapter, is connected securely.
-
Complete the Additional Install Options fields.
-
To add phone numbers for support or supplies contacts, touch Contact Numbers.
-
To assign a static IP address, or to change the default dynamic addressing settings, touch IP Address Settings.
-
To configure basic embedded fax settings, touch Fax Setup.
Note: You can complete the Additional Install Options fields later.
-
To complete the configuration using a clone file, follow the steps in this task. To complete the configuration without using a clone file, skip to step 4.
-
At the prompt, insert a USB flash drive into a USB port.
-
Select the clone file, then click Install.
-
At the confirmation prompt, click Install, then wait a few seconds.
Note: If your clone file contains an administrator password, the password in the clone file replaces the default administrator password.
-
To complete the installation without a clone file:
-
For Paper Size Preference, set the paper size.
-
For Device Information, select a setting.
-
Change the password for the administrator account. To leave the password at the default setting, click Skip. You can change the password later.
Note: When you first attempt to log in to the Embedded Web Server with the default administrator password, the device prompts you to change the password. For details, refer to Accessing the Embedded Web Server as a System Administrator.
-
At the Device Setup Complete screen, follow the onscreen instructions, then click Restart.
Xerox® Easy Assist App
To access the printer from your smartphone, download and install the Xerox® Easy Assist (XEA) app to your mobile device. XEA app is available in the Apple App Store or Google Play Store. By installing the Xerox Easy Assist app on your smartphone, you can:
-
Setup your new printer easily for you and your team
-
Manage its configuration
-
View alerts indicating supply requirements and order them
-
Get live troubleshooting support for your printer
-
Access Print and Scan features
The Xerox Easy Assist App has instructions and videos that help you to unpack the printer from its shipping box. You can complete the initial setup of a new printer through the app. To install the Xerox Easy Assist app on your smartphone, scan the QR Code that is provided in the Installation Guide. If the printer has Internet connection, then you can connect to the XEA app in your smartphone by typing the IP address of the printer.
For more information about the Xerox Easy Assist app and its features, refer to the User Guide of your printer.
Note: Not all printer models support the Xerox Easy Assist app and its features.
Assigning a Network Address
The printer automatically acquires a network address from a DHCP server by default.
To assign a static IP address, configure DNS server settings, or configure other TCP/IP settings, refer to IP.
If the printer does not detect a DHCP server, the printer uses an IPv4 self-assigned address. Address information is listed on the configuration report. For details, refer to Configuration Report.
Accessing Administration and Configuration Settings
You can access the administration and configuration settings from the Tools menu at the control panel or from the Properties tab in the Embedded Web Server.
The control panel is the interface from which you can control the functions available on the device. The control panel consists of the following components:
-
Touch screen: Use the touch screen to access and control the functions available on the device.
-
Power button: Use the power button to power on or power off the device and to wake the device from sleep mode.
-
Home button: Use the Home button to return to the Home screen directly from any other screen.
The Embedded Web Server is the administration and configuration software installed on the printer. This software allows you to configure and administer the printer from a Web browser.
The administrator password is required to access locked settings in the Embedded Web Server or at the control panel. Most printer models have a default configuration that restricts access to some settings. Access is restricted for settings on the Properties tab in the Embedded Web Server, and settings on the Tools menu at the control panel.
ACCESSING THE CONTROL PANEL AS A SYSTEM ADMINISTRATOR
If you have not changed the administrator password, you can continue to access the administrator functions at the control panel with the default administrator password. The default administrator password is the device serial number.
Note: You can obtain the serial number from inside the front door of the printer, from the configuration report, and from the home page of the Embedded Web Server.
To access the administrator functions at the control panel:
-
At the control panel touch screen, touch Log In.
-
Type admin, then touch Next.
-
Type the administrator password, then touch Done. The password is case-sensitive.
ACCESSING THE EMBEDDED WEB SERVER AS A SYSTEM ADMINISTRATOR
Before you begin:
-
Locate your device IP address, or host and domain name, using the configuration report.
Note: The device prints a configuration report at power-up. For details, refer to Printing the Configuration Report.
-
Ensure that TCP/IP and HTTP are enabled. If you disabled either of the protocols, at the control panel, re-enable the protocols. For details, refer to IP and HTTP.
To log in to the Embedded Web Server as the administrator:
-
At your computer, open a Web browser. In the address field, type the IP address of the device, then press Enter or Return.
Note: To ensure that untrusted-certificate Web browser errors do not appear, install the Device Root Certificate Authority for the device. For details, refer to Security Certificates.
-
In the top-right area of the page, click Login.
-
For User ID, type admin.
-
For Password, type the administrator password. The default administrator password is the device serial number. The password is case-sensitive.
Note: You can obtain the serial number from inside the front door of the printer, from the configuration report, and from the home page of the Embedded Web Server.
-
Click Login.
Note: If you did not change the administrator password with the installation wizard, a prompt asks you to change the default administrator password when you first log in as administrator in the Embedded Web Server. If you choose to continue to use the default administrator password, or a password of 1111, each time you log in as administrator, a prompt reminds you to choose a more secure password for the admin account. For details, refer to Changing the System Administrator Password.
USING THE SEARCH FUNCTION IN THE EMBEDDED WEB SERVER
The Search feature in the Embedded Web Server returns one or more links to configuration pages for features related to your search term. The Search field is at the top of the navigation pane.
Note: A general search term, such as print, can yield multiple results. A specific search term, such as secure print, yields more specific results.
To use the Search function:
-
Log in to the Embedded Web Server as an administrator.
-
Click Properties.
-
In the Search field, type a search term for the administrator function you want to locate.
PRINTING THE CONFIGURATION REPORT
The Configuration Report lists many of the important current settings of the printer. A configuration report prints at start-up by default.
There are two configuration reports available, a Basic Configuration Report, and a Detailed Configuration Report. The configuration reports provide product information, including installed options, network settings, port setup, tray information, and more.
Printing the Configuration Report from the Control Panel
To print the Configuration Report from the device control panel:
-
At the Home screen, touch Device, then touch Information Pages.
-
Touch Basic Configuration Report or Detailed Configuration Report, then touch Print.
Printing the Configuration Report from the Embedded Web Server To print the Configuration Report from the Embedded Web Server:
-
In the Embedded Web Server, click Home > Configuration Report.
-
To print the report, click Print Configuration Page, then click Basic Report or Detailed Report.
-
Basic Report: This report provides the basic information of the printer configuration. The Basic Report is printed on a single 2-sided page.
-
Detailed Report: This report provides the detailed information of the printer configuration. The Detailed Report is printed on multiple 2-sided pages.
Disabling the Configuration Report at Startup
-
In the Embedded Web Server, click Properties > Apps.
-
Click Printing > General.
-
For Configuration Report, clear Print Basic Report at Power on.
To save the new settings, click Save.