Print Service Settings
ALLOCATING MEMORY FOR PRINT SETTINGS
1. At the device control panel, log in as Administrator, press the Machine Status button, then touch the Tools tab. For details, refer to Administrator Access at the Control Panel.
2. Touch System Settings > Print Service Settings > Allocate Memory.
3. Touch a selection, then touch Change Settings. You can change settings for the following features:
• PostScript Memory
• HP-GL/2 Auto Layout Memory
• Job Ticket Memory
• Receiving Buffer – LPD
• Receiving Buffer – IPP
4. Specify the amount of memory allocated to the selected feature.
5. Touch Save.
CONFIGURING OTHER TYPES OF PRINT SETTINGS
1. At the device control panel, log in as Administrator, press the Machine Status button, then touch the Tools tab. For details, refer to Administrator Access at the Control Panel.
2. Touch System Settings > Print Service Settings > Other Settings.
3. Touch an item, then touch Change Settings.
• Print Area: To print beyond the standard page margins, touch Extended.
• Substitute Tray: Specify an action for the device to take when the device runs out of a specific size paper. Options include Display Message, Use Larger Size, Use Closest Size, or Select Tray 5.
• Paper Type Mismatch: Specify an action for the device to take when the paper type loaded in the tray does not match the defined paper type. Options include Print, Display Confirmation Screen, or Display Paper Supply Screen.
• Unregistered Forms: Set a print option for instances in which a form that is specified for printing in a form data file is not registered on the device. If you select Print, only the data prints because the specified form is not present. The setting is added to the print settings menu when there is a print specification from the host computer.
• Resume Job After Print Error: To cancel a print job automatically when an error occurs, touch Job Resumes Automatically. To display a control panel prompt that requires a user to cancel the job manually, touch Resume by User.
• When Paper Jam Occurs: To continue printing a job after clearing a paper jam, touch Resume Job after Jam Clearance. To cancel the print job, touch Delete Job.
• Print User ID: You can print the User ID for a user on the page. To set location where the User ID prints on the page, touch Top Left, Top Right, Bottom Left, or Bottom Right. If you use one of these options to specify a User ID, specify the same User ID in the print driver. To prevent the User ID from printing, touch Off.
• Sensing Separator Page: To instruct the device not to print on separator pages during a print job, touch Enabled. To instruct the device to ignore separator pages, touch Disabled.
• Banner Pages: To print an identifying page before each print job, touch Start Page. To print an identifying page after each print job, touch End Page. To print identifying pages before and after each print job, touch Start Page & End Page.
• Banner Page Offset: Banner page offset can help distinguish print jobs from one another. To offset the banner page from the print job pages, touch Offset. If you do not want to offset the banner page from the print job pages, touch No Offset.
• Banner Page Tray: Select the paper tray loaded with the paper that you want to use for printing banner pages.
• PostScript Default Color: To set the default color option for PostScript print jobs, touch Color or Black & White.
• PostScript Paper Supply: Select a paper supply option for PostScript print jobs. To allow the device to select the paper tray, touch Auto Select: To allow the user to select the paper tray, touch Select Paper Tray.
• PostScript Font Absence: To specify how jobs are handled when the PostScript font specified in the document is unavailable in the device, touch Cancel Printing or Substitute Font and Print.
• PostScript Font Substitution: To use an ATC (Avondale Type Co.) font as a substitute font when a specified PostScript font is not present, select Use ATCx. If you do not want to use ATCx as the substitute font, select Do not use ATCx.
• XPS Print Ticket Processing: You can specify how the device processes print tickets in XPS documents. To use the Microsoft-compliant mode, touch Compatible Mode. Otherwise, touch Standard Mode. To disable this feature, touch Off.
• LPD Print Queue: To specify the LPD print sequence, touch Data Processing Order or Job Submission Order.
• OCR Font Glyphs (OXSC): To specify the glyph used for OCR jobs, select Backslash or Japanese Yen Sign.
4. Touch Save.
5. Touch Close.
MEDIA PRINT SERVICE SETTINGS
The media print service allows you to associate paper trays with different paper supplies.
Enabling the Media Print Service – To enable the media print service:
1. In the Embedded Web Server, click Properties > Services > Media Print > General.
2. For Media Print, select Enabled.
3. Click Apply.
Enabling the Media Print Service for USB – To enable the media print service for USB:
1. In the Embedded Web Server, click Properties > Services > USB > General.
2. For Media Print, select Enabled.
3. Click Apply.
Configuring Media Print Service Settings – To configure media print settings:
1. At the device control panel, log in as Administrator, press the Machine Status button, then touch the Tools tab. For details, refer to Administrator Access at the Control Panel.
2. Touch System Settings > Media Print Service Settings.
3. To associate a paper tray to a paper supply selection, from the list, select a paper supply preset, then touch Change Settings.
4. Select the tray to be associated to the selected paper supply, then touch Save.
Note: The Media Print – Text feature allows users to print PDF, JPG, TIFF, and XPS files directly from a USB Flash Drive.
FAQs
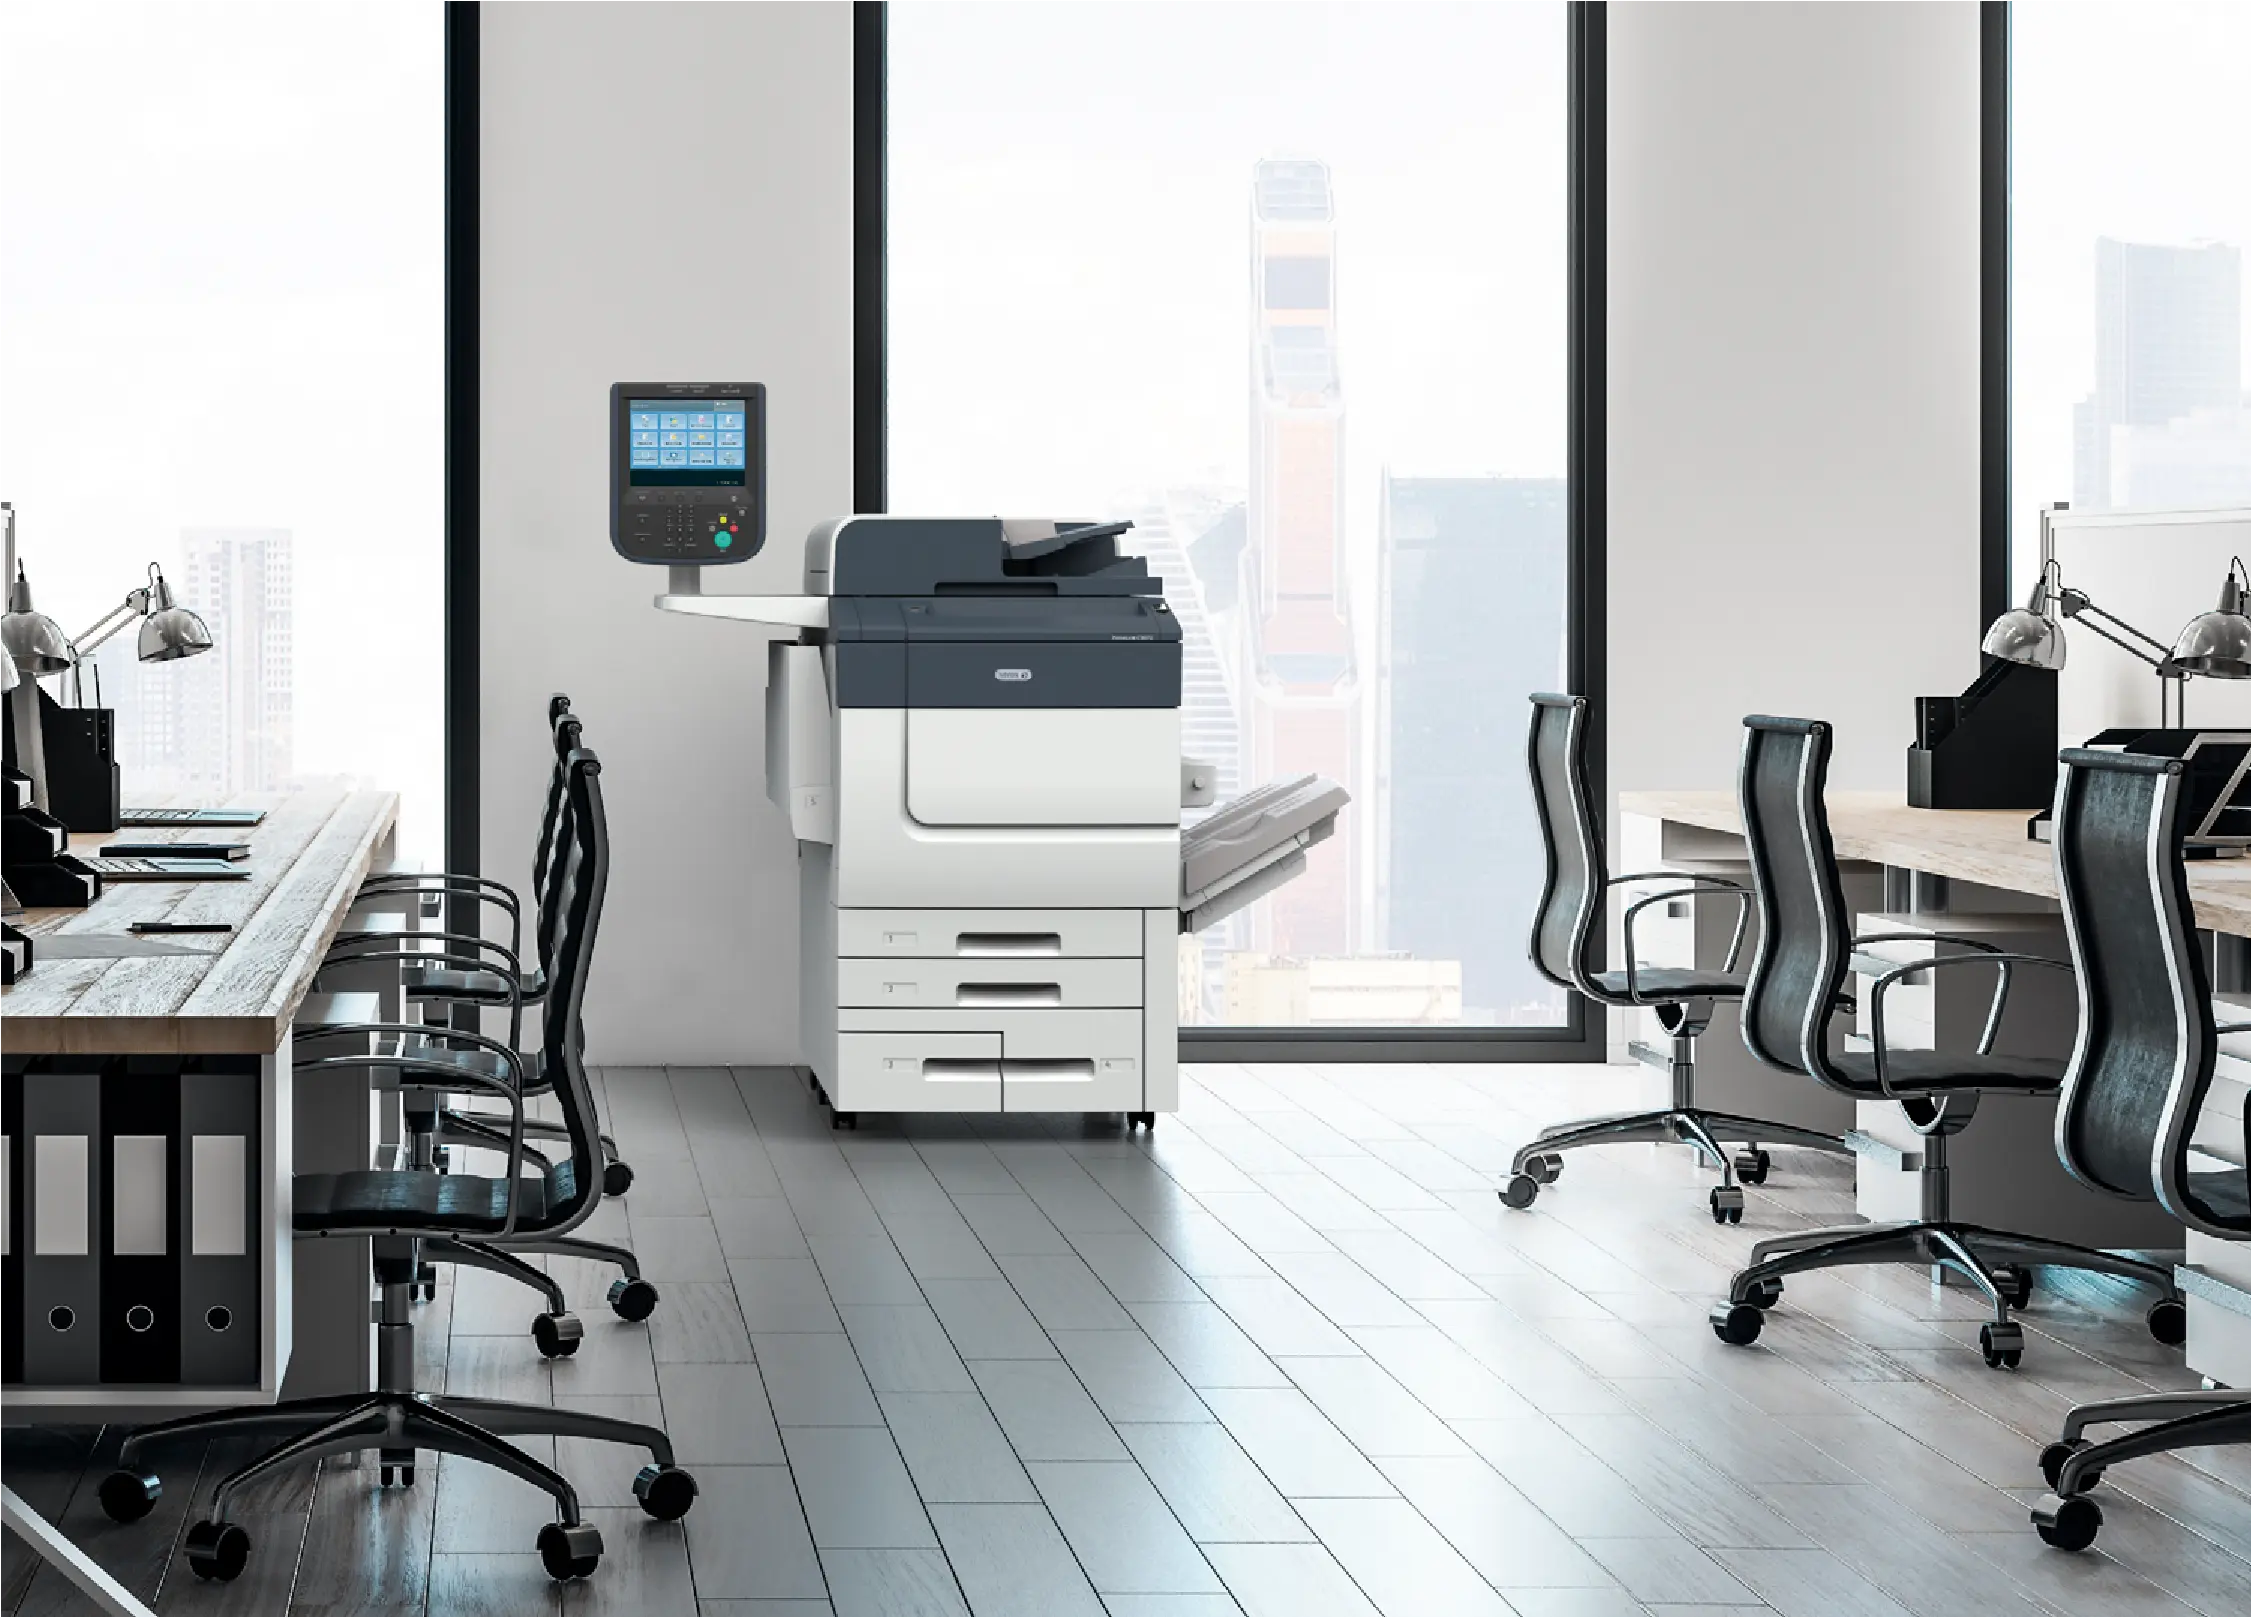
How do I optimize print quality on a Xerox® PrimeLink® C9065/C9070?
To optimize print quality on your Xerox® PrimeLink® C9065/C9070, follow these steps:
1. Access Printer Settings: Go to the printer’s control panel or its web interface by entering the printer’s IP address into a web browser.
2. Select Quality Settings: Navigate to the “Print Quality” or “Image Quality” settings. This can often be found under “Print Settings” or “Advanced Settings.”
3. Adjust Resolution: Set the print resolution to the highest available setting for the best quality.
4. Perform Calibration: Use the built-in calibration tools to adjust color accuracy and alignment. This may involve running calibration routines or printhead adjustments.
5. Check and Replace Supplies: Ensure that the toner, ink, and other supplies are fresh and properly installed. Low or old supplies can affect print quality.
6. Select the Right Media: Use the appropriate type and quality of paper for your print job, as different media can impact the final output.
7. Clean the Printer: Regularly clean the printer components, such as the print heads and rollers, to prevent smudges or streaks.
8. Run a Test Print: After making adjustments, run a test print to check the quality and make any additional tweaks if needed.
For detailed instructions or troubleshooting, refer to the printer’s user manual or support resources.
What steps can I take to enhance productivity on PrimeLink® C9065/C9070?
To enhance productivity on your PrimeLink® C9065/C9070, you can take the following steps:
1. Configure User Settings: Set up user profiles and preferences to streamline printing tasks and ensure users have access to necessary features.
2. Utilize Workflow Automation: Take advantage of automated workflows and preset job templates to speed up repetitive tasks.
3. Enable Advanced Features: Use features like duplex printing, stapling, and sorting to reduce manual handling and increase efficiency.
4. Regular Maintenance: Perform routine maintenance, such as cleaning and updating software, to keep the printer running smoothly.
5. Monitor Usage: Use accounting and tracking tools to analyze print usage and identify areas where productivity can be improved.
6. Train Users: Provide training for users on the printer’s advanced functions and best practices to maximize its capabilities.
7. Optimize Settings: Adjust print settings for specific tasks to balance quality and speed according to your needs.
By implementing these steps, you can make the most of your PrimeLink® C9065/C9070 and improve overall productivity.
How can I configure the PrimeLink® C9065/C9070 for faster performance?
To configure your PrimeLink® C9065/C9070 for faster performance, follow these steps:
1. Optimize Print Settings: Adjust print quality settings to a lower resolution if high resolution is not necessary for your tasks. This can speed up printing time.
2. Enable Fast Print Mode: Use any available fast or draft mode settings to increase print speed for routine jobs.
3. Update Firmware: Make sure the printer’s firmware is up-to-date to benefit from the latest performance improvements and bug fixes.
4. Manage Print Jobs: Use job scheduling and queue management features to optimize how print jobs are processed and avoid bottlenecks.
5. Upgrade Memory: If your printer supports it, consider adding more memory to handle large files and complex jobs more efficiently.
6. Regular Maintenance: Perform regular maintenance, including cleaning and checking for any paper jams or issues that could slow down performance.
7. Check Network Speed: Ensure that your network connection is stable and fast, as network issues can impact printing speed.
By following these steps, you can help ensure that your PrimeLink® C9065/C9070 operates at its best performance.
What finishing options are available for PrimeLink® C9065/C9070?
The PrimeLink® C9065/C9070 offers a variety of finishing options to enhance your print projects:
1. Stapling: Automatically staple documents for a professional finish, with options for single or dual staple points.
2. Hole Punching: Add up to three holes to documents for easy binding or presentation.
3. Booklet Making: Create booklets with folding and stapling capabilities, perfect for reports and manuals.
4. Fold Options: Include various folding types like tri-fold or z-fold for marketing materials and brochures.
5. Document Insertion: Add cover pages or insert blank sheets between documents for a polished look.
These finishing options help streamline your workflow and produce high-quality, professionally finished documents.
How do I troubleshoot slow printing on the PrimeLink® C9065/C9070?
The PrimeLink® C9065/C9070 offers several finishing options to enhance your printed documents:
1. Stapling: Choose from options for single or dual stapling to keep your documents neatly organized.
2. Hole Punching: Add up to three holes for easy binding or filing.
3. Booklet Making: Create professional booklets with automatic folding and stapling.
4. Folding: Select from various folding options, such as tri-fold or z-fold, for brochures and marketing materials.
5. Document Insertion: Add cover pages or blank sheets between documents for a clean and professional finish.
These options help you customize and finalize your print jobs to meet your specific needs.